Step-by-Step Guide: Installing a Ceiling Fan
Installing a ceiling fan can be a great way to improve air circulation and add a stylish touch to any room. Follow these steps to ensure a smooth and safe installation.
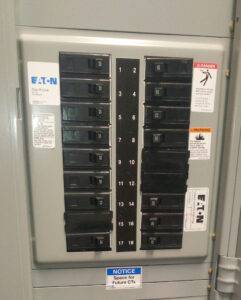 Safety first! Turn off the power to the existing light fixture at the circuit breaker. Use a voltage tester to ensure the power is off.
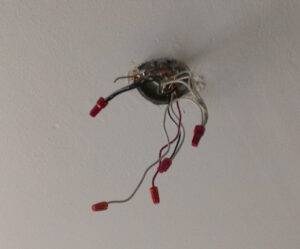 Carefully remove the old light fixture. Disconnect the wires and remove the fixture from the ceiling. Inspect the electrical box to ensure it is rated for ceiling fans. If not, replace it with a fan-rated box.
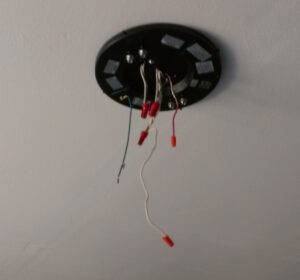 Attach the mounting bracket to the electrical box using the screws provided. Ensure it is securely fastened.
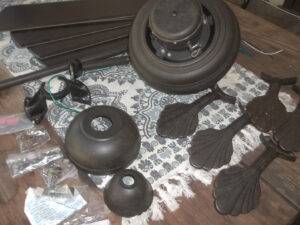 Follow the manufacturer’s instructions to assemble the fan. This typically involves attaching the downrod (if using), motor housing, and canopy.
Tools and Materials Needed:
- Ceiling fan kit (including fan, blades, mounting bracket, and hardware)
- Fan-rated electrical box
- Ladder or step stool
- Screwdrivers (flathead and Phillips)
- Adjustable wrench
- Drill with bits
- Wire strippers
- Voltage tester
- Electrical tape
Step 1: Turn Off the Power
Safety first! Turn off the power to the existing light fixture at the circuit breaker. Use a voltage tester to ensure the power is off.
Step 2: Remove the Existing Fixture
Carefully remove the old light fixture. Disconnect the wires and remove the fixture from the ceiling. Inspect the electrical box to ensure it is rated for ceiling fans. If not, replace it with a fan-rated box.
Step 3: Install the Ceiling Fan Brace
If your ceiling fan requires additional support, install a brace between the ceiling joists. This will help support the weight of the fan.Step 4: Mount the Ceiling Fan Bracket
Attach the mounting bracket to the electrical box using the screws provided. Ensure it is securely fastened.
Step 5: Assemble the Fan
Follow the manufacturer’s instructions to assemble the fan. This typically involves attaching the downrod (if using), motor housing, and canopy.
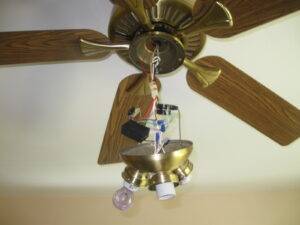
Step 6: Wire the Fan
Connect the wires from the ceiling to the fan. Typically, this involves connecting the black (or blue) wire to the black wire, the white wire to the white wire, and the green or bare wire to the ground wire. Use wire nuts to secure the connections and wrap them with electrical tape.Step 7: Attach the Fan Blades
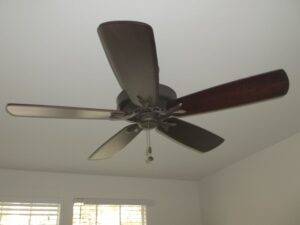
Attach the fan blades to the motor housing using the screws provided. Ensure they are securely fastened.
Step 8: Install the Light Kit (if applicable)
If your fan includes a light kit, follow the manufacturer’s instructions to install it. This usually involves connecting additional wires and attaching the light fixture to the fan.