4 Useful Knots for Handyman Work and Hauling Jobs
Being a handyman means knowing your knots! In this comprehensive guide, we explore four essential knots every handyman should master. From creating secure loops to joining ropes and securing loads, these knots will make your tasks easier. Let’s dive in!
-
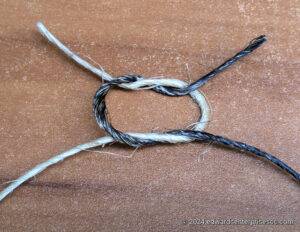
Square Knot:

- Purpose: Joins two similar ropes into one long rope.
- Use Cases: Useful for sail covers, gift wrapping, and shoelaces.
- How to Tie:
- Hold one end of a rope in each hand.
- Start with an overhand knot by crossing the right end over the left and pulling the right-hand end under the loop, like you would when tying your shoes.
- (With left hand holding new left end and right hand holding new right end) Cross the left end over the right, pulling the left end under the loop. Note that the reverse of this, right under left, is the “granny knot”, which can collapse more easily, so make sure to reverse direction from the first tie in step 2.
- Pull both ends to secure the knot.
-
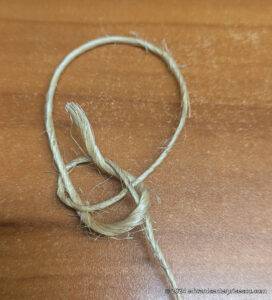
Bowline Knot:

- Purpose: Creates a secure loop at the end of a rope.
- Use Cases: Ideal for mooring lines, repelling, and joining two ropes.
- How to Tie:
- Make a small loop near the end of the rope.
- Pass the working end through the loop.
- Wrap the working end around the standing part of the rope.
- Pass the working end back down through the loop you made in step 1.
- Tighten the knot by pulling both ends.
-
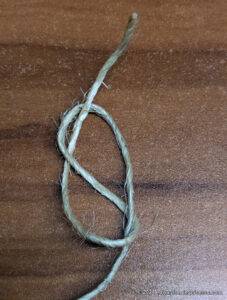
Figure 8 Knot:

- Purpose: Used for stop knots or non-jamming loops.
- Use Cases: Essential for climbing and preventing ropes from slipping through carabiners.
- How to Tie:
- Create a loop with your rope.
- Wrap the working end around the base and pull through the loop.
- Tighten the knot by pulling both ends.
-
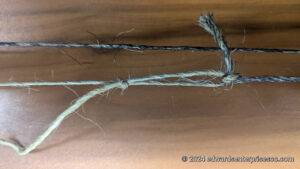
Trucker’s Hitch Knot:

- Purpose: Creates a powerful pulley system for securing loads.
- Use Cases: Perfect for tying down cargo on trucks, trailers, or roof racks. Useful knot for hauling jobs.
- How to Tie:
- Start with one end secured around an anchor point.
- Create a loop near a second anchor point (but before it, so don’t pull the rope around it yet)
- Pass a section of rope through the loop to create a slipknot. Pull the rope tight.
- Pull the working end around the second anchor point.
- Pass the working end through this second loop.
- Pull back on the working end to tighten the hitch and secure your load. You can secure the loose end with a half hitch to finish.
Remember, practice makes perfect! These knots will serve you well in various handyman tasks. 🛠️🔗